 "Urambo Tauro" (urambotauro)
09/27/2016 at 12:00 • Filed to: cl100, honda, motorcycle, project, wrenching, blog
 0
0
 5
5
 "Urambo Tauro" (urambotauro)
09/27/2016 at 12:00 • Filed to: cl100, honda, motorcycle, project, wrenching, blog |  0 0
|  5 5 |
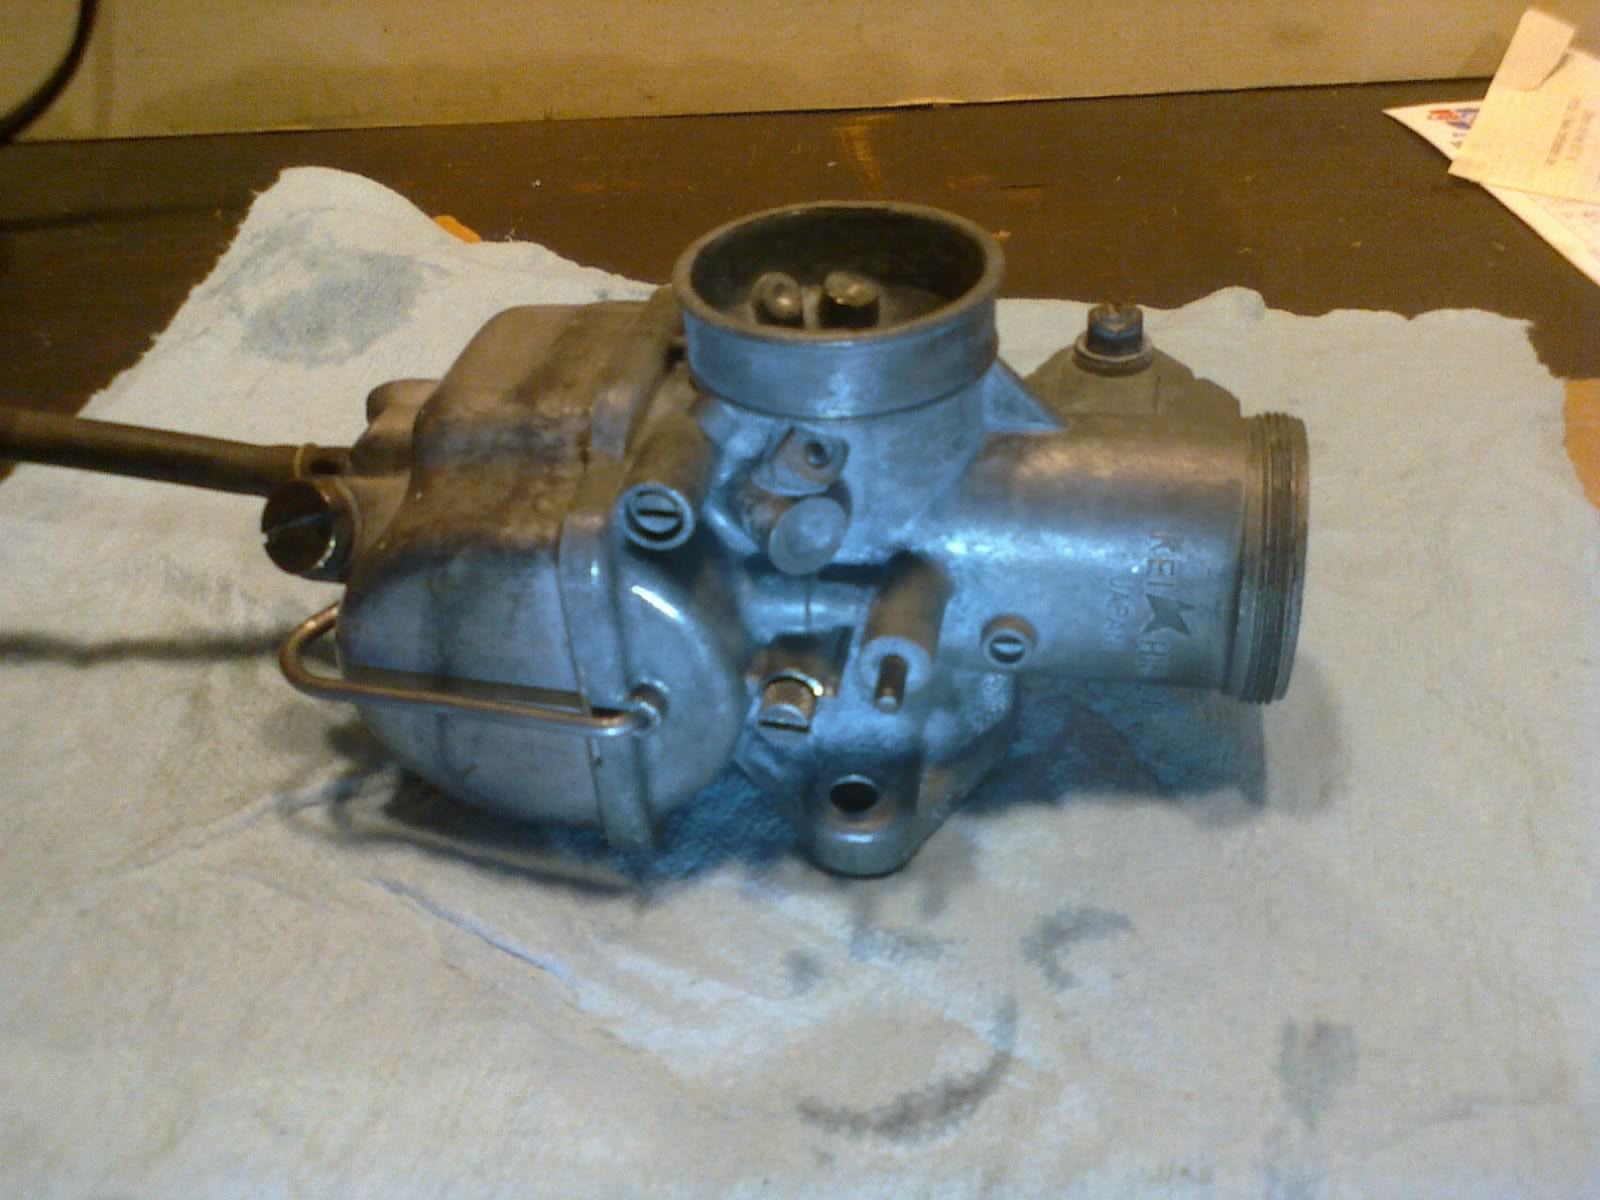
Thanks, everyone, for all the great input !!!error: Indecipherable SUB-paragraph formatting!!! . I decided to go through the carb again; here’s what I found.
It had been bothering me a little that I had merely cleaned and reassembled the carburetor the same way I found it, and hadn’t gained a good understanding of how it operates. I haven’t spent much time around carburetors, and had only a vague sense of the Venturi effect drawing fuel into the air stream, metered by, well, some kind of magic.
So when the suggestion came up to take the carburetor apart and clean it again, I found myself less reluctant than I usually am about having to re-do my own work. The first thing I realized was the function of the large screw at the bottom of the float bowl. The screw had some small holes perpendicular to the shaft that didn’t match up with any passages in the bowl. Only now did I finally understand that it was a convenient drain screw. As I started to disassemble the rest of the carb, everything looked pretty much exactly how I had left it. I carefully poked various orifices, hoping to find a simple, easily remedied blockage.
Well, maybe hoping ’s not the right word for it. As nice as it would be to find an easy remedy, there shouldn’t be any foreign particles entering the stream at all. The tank was cleaned, and any chance of leftover particles were surely locked down by the liner. The fuel cock was all-new, as was the hose and filter. And, of course, the carb itself. There’s no way the fuel should be picking up ANY rust particles or deteriorated hose fragments along the way.
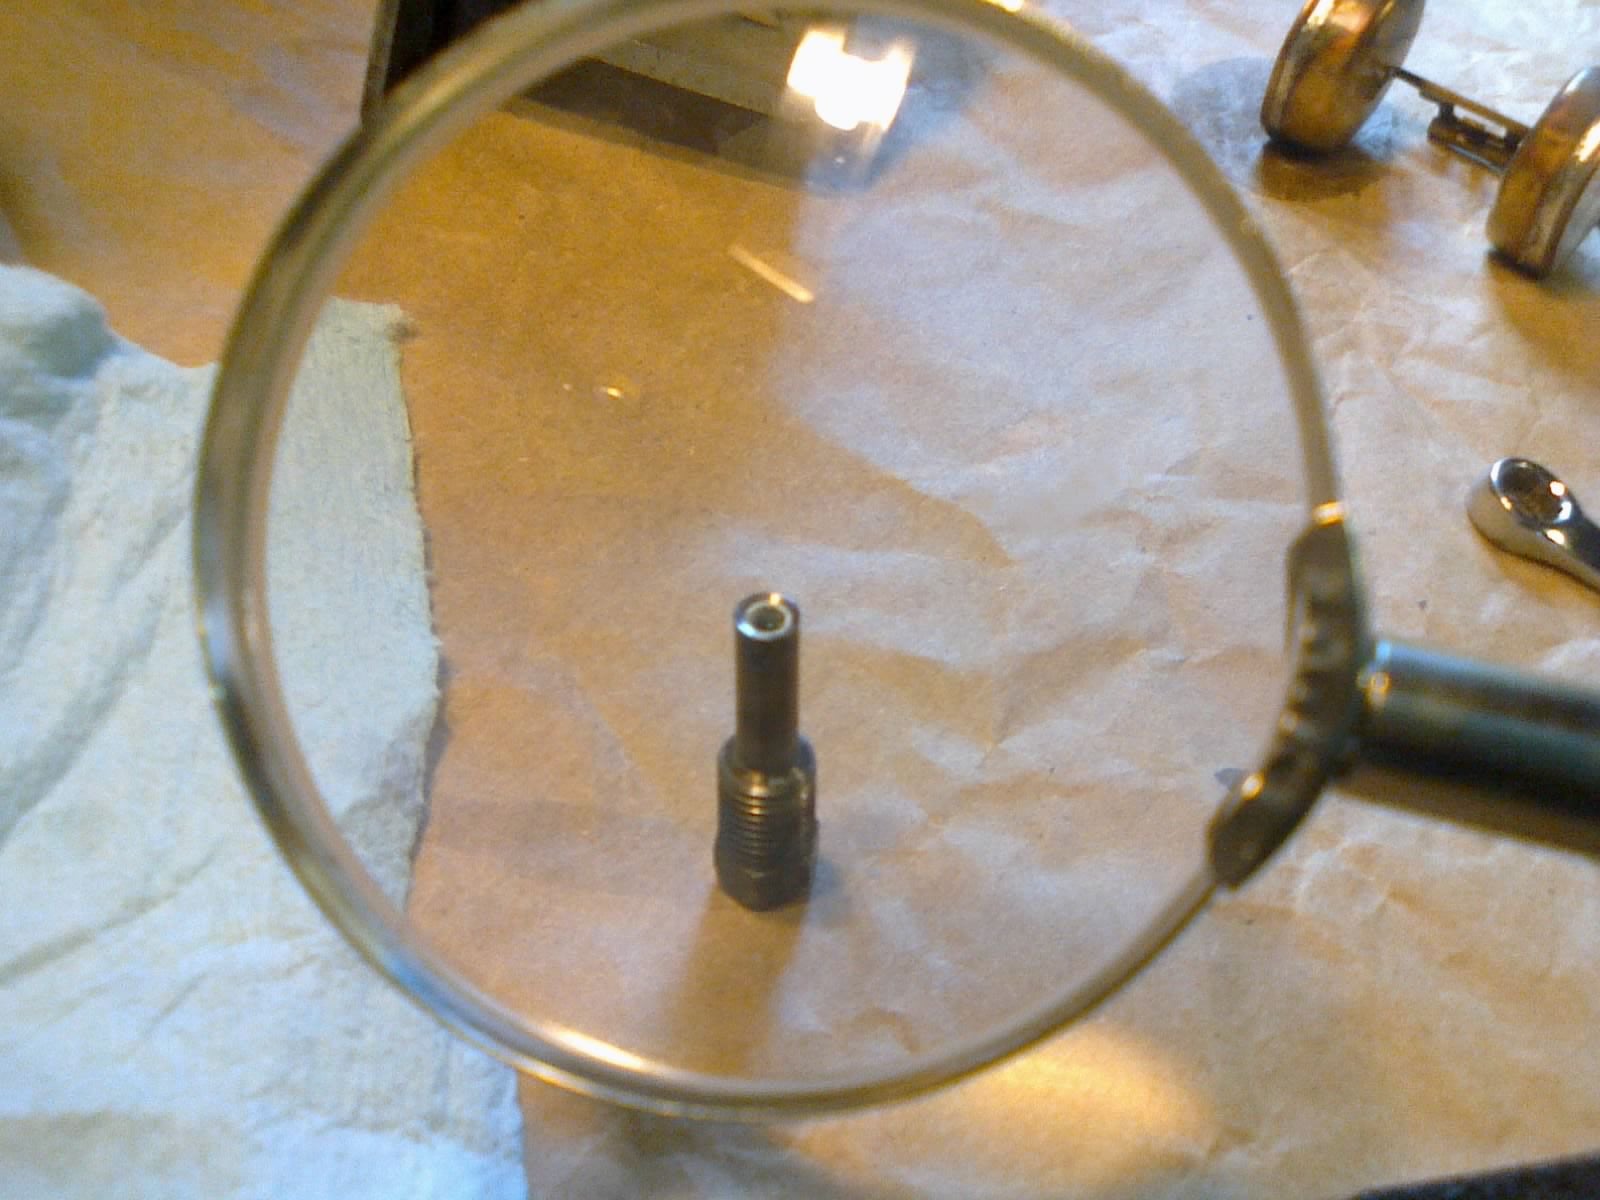
The first problem I found was in the main “needle jet holder”. Upon unscrewing it from the body, I saw a thin white residue on the inside of the tube. It wasn’t there during my cleaning and reassembly, and must have appeared over the past few days. The engine had only been run for about half an hour total since the carb rebuild (about 20min of riding, and another 10 of adjustments). Then I remembered reading something about modern fuels being “bad” for carburetors. Could this have been caused by excessive ethanol?
I started googling, which yielded some pictures of a similar white substance being caused by running ethanol-laced fuel. But as I continued to search, other possibilities began to surface. Apparently dried Pine-Sol (my carb cleaner of choice for this project) can leave a similar residue if not thoroughly cleaned off. The terms “aluminum oxide” and “zinc oxide” were also brought up...
Come to think of it (I hadn’t thought of this before), is ethanol the only thing I need to worry about in regards to fuel, or do I also need to make up for the fact that gas is now unleaded ?
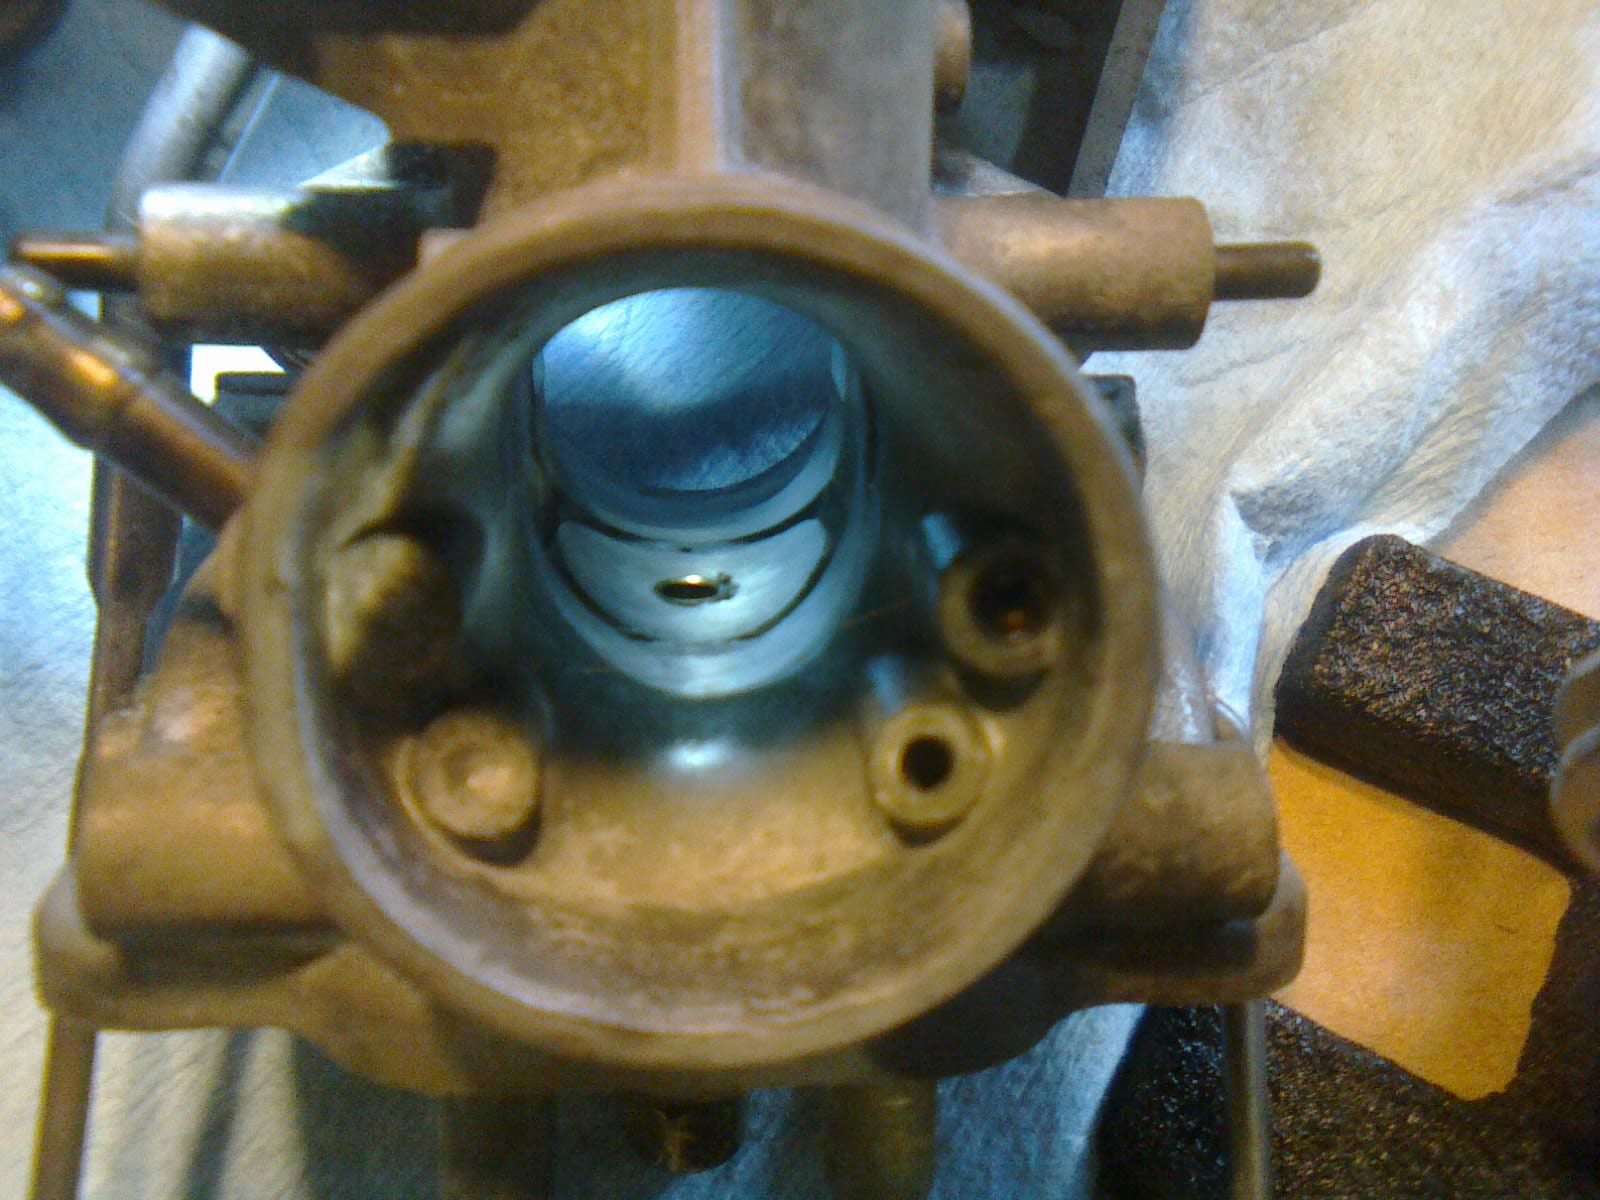
Anyway, moving on, I also noticed that where the main “needle jet” (not to be confused with the long “jet needle”) came up to meet the main throttle passage, it had disturbed the aluminum around it. I’m not sure if it was already like that beforehand, but it almost looks as if the jet had pushed through the aluminum a little. Could I have overtightened the needle jet holder, forcing the needle jet upward more than it should? Or was I just looking at machining burrs that were never cleaned up from the factory decades ago? Hard to say.
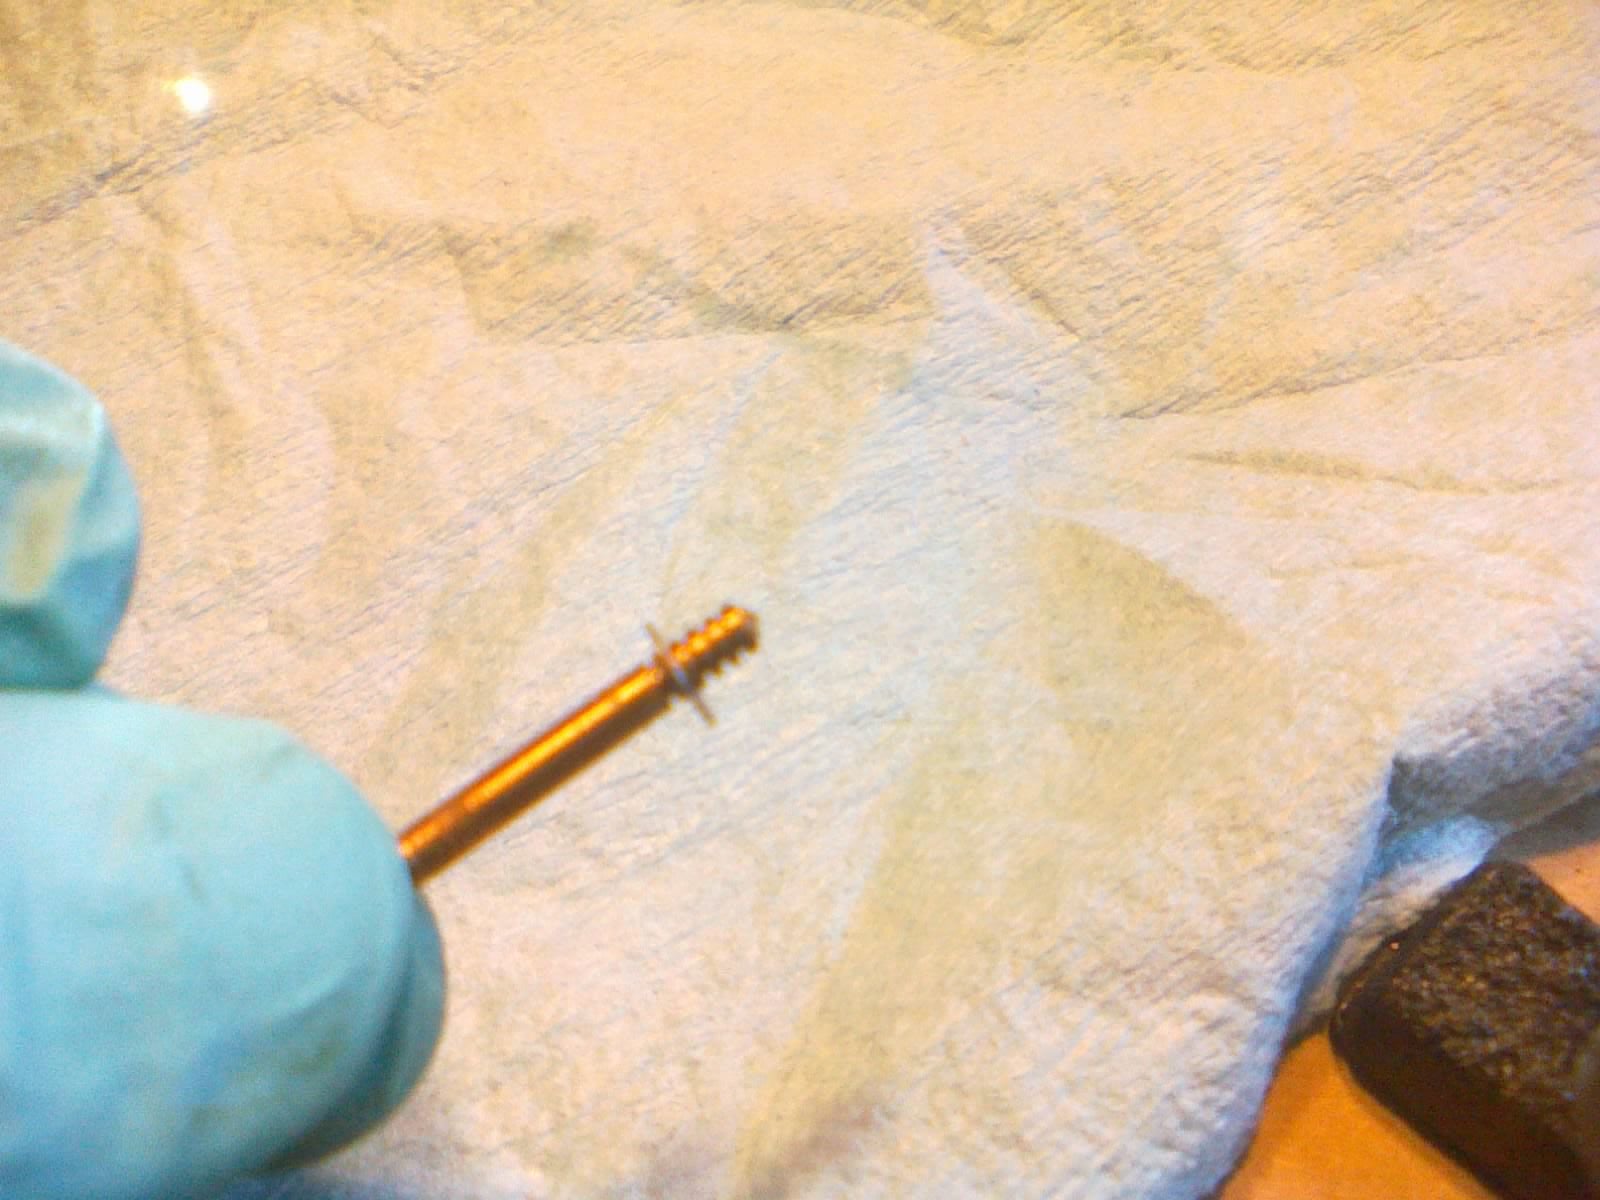
I inspected the jet needle, which looked fine. During assembly, I had found an adjustment that didn’t seem to be mentioned in the shop manual. The jet needle has 5 grooves that the e-clip can be inserted into, changing the height of the needle in relation to the throttle valve slide. The position in which I found (and left) it was (counting from top to bottom) the fourth groove.
Back in the float bowl, I looked carefully at the jets and passages, noticing that the main jet was stamped “105”, though the shop manual specifies a “#110” for the CL100. I’m not seeing a main jet in my box of old parts, which leads me to believe that the rebuild kit must not have come with one, and this must be the same jet that was in the carb when I took it apart. I wonder if someone performed some kind of upgrade...
Upon inspection of the pilot jet, I found a blockage. At first, I was unsure if it was supposed to be clear all the way through, since the hollow tube had holes in the side of it. So I spent some time with regular carb cleaner, shooting through the passages of the carb to get a better understanding of the flow of things. Let’s see, fuel comes in here, goes through there, gets picked up here... Sure enough, that pilot needed to be clear along its length in order to draw fuel up from the float chamber. THAT must be why I couldn’t get the bike to idle! It was only drawing fuel through the main jet!
Funny thing is, during earlier assembly, I had trouble getting the new pilot jet from the rebuild kit to thread in place. So out of fear of messing with the threads, I had reinstalled the now-clean (but perhaps not clean enough, in retrospect) pilot jet. I took the brand-new one back out of the box, and sure enough, there’s a tiny hole (and I do mean tiny, much smaller than anything else I’ve seen in the carb, too small to clear with a piece of wire) through the center of the jet. I carefully threaded the new jet into place and continued reassembling the carb.
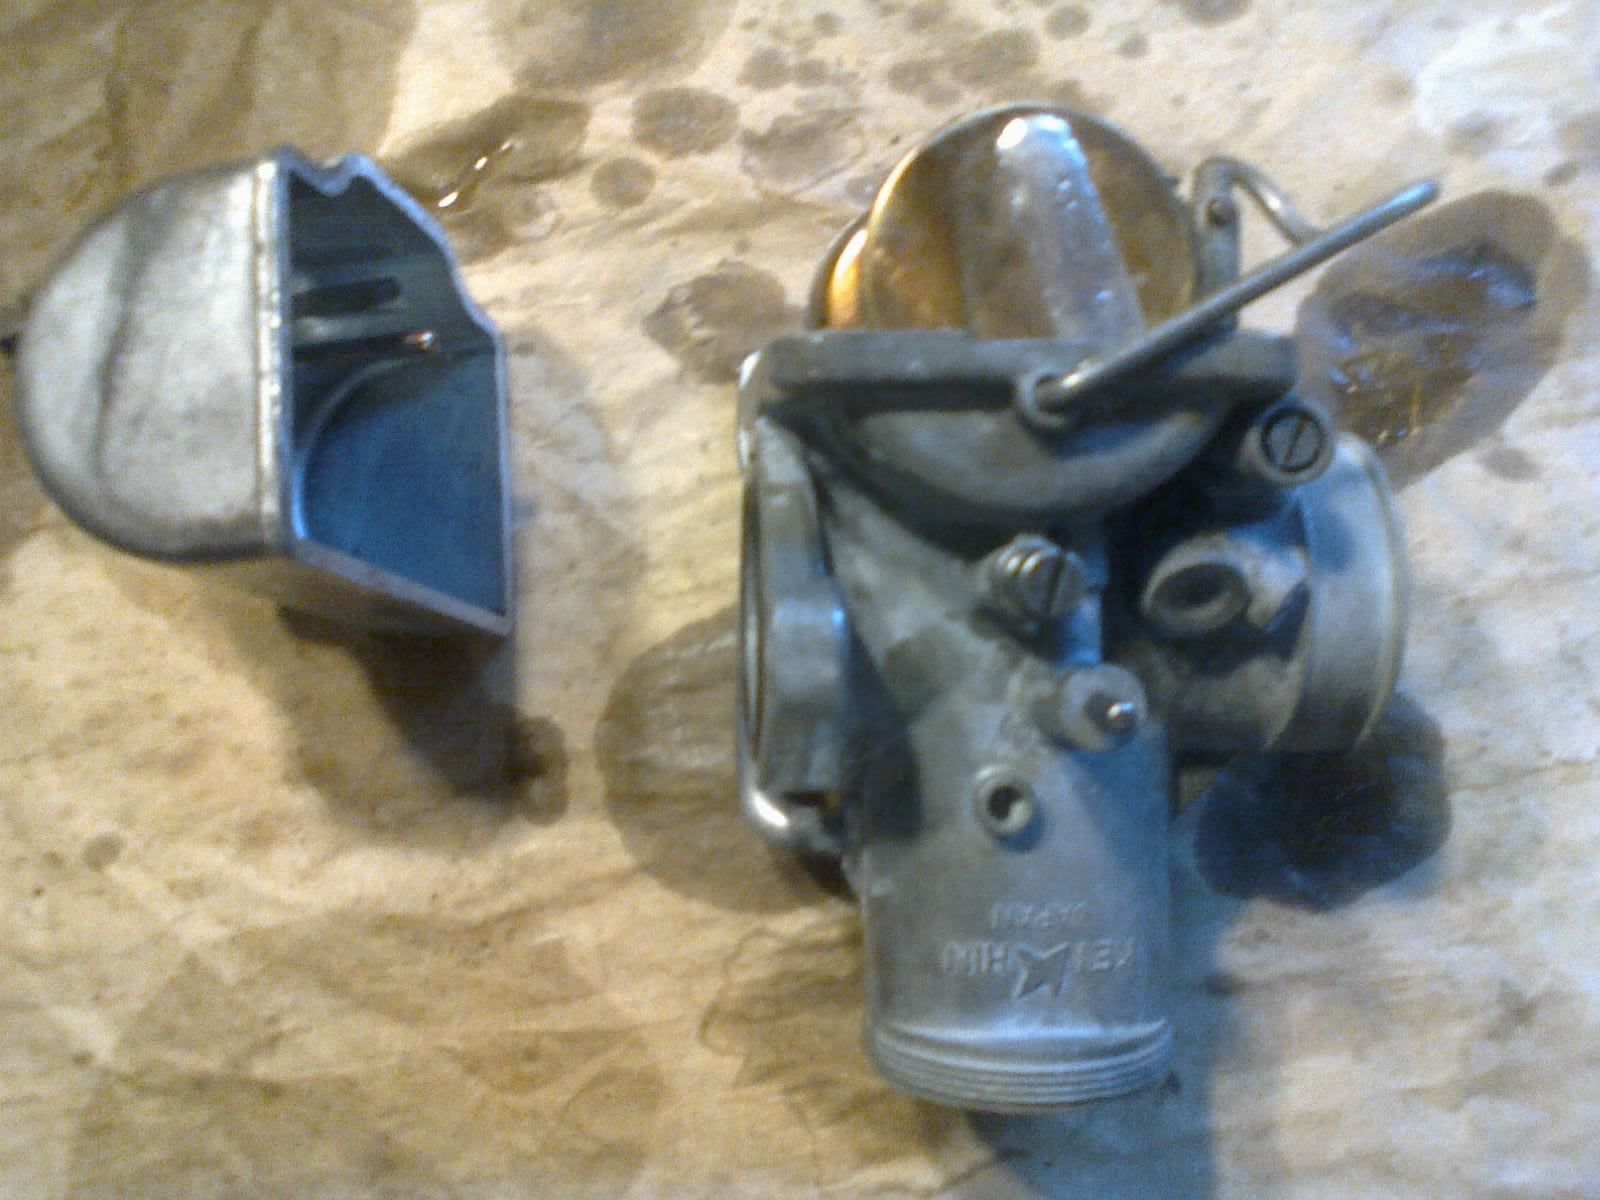
As I reinstalled the float, I decided to cheat the spec adjustment on a hunch. I had repaired the leaking float with lead solder, and thought that maybe there was enough extra weight to warrant a custom float setting. The shop manual (to the best of my interpretation; it’s not very well-worded) calls for a 24mm measurement from the bottom of the float to the bottom of the upper carb body above it. Expecting the solder to make it float a little deeper, I adjusted this just a tad, to 25mm. Not too radical.
Once I get the fuel situation sorted out, I think I’ll be ready to try starting it again. I feel pretty good about what I found with the pilot jet, and am looking forward to setting the idle again. But everything else I found raises new concerns, too. There are a lot of variables that could be changed or adjusted...
 vicali
> Urambo Tauro
09/27/2016 at 12:04 |
|
My Dad (the CT90 guy) had one that he took apart and cleaned.. it never really ran right and he was at the end of his rope figuring out why. Finally he carried it into the Honda dealer to find some part numbers and the tech spotted he had a washer in backwards.. fixed it and it runs super smooth now.
tldr.. someone probably messed with it before you, have a pro double check it.
 fourvalleys
> vicali
09/27/2016 at 12:06 |
|
I had carb issues with my Mini this summer - I had the jet bearing in backwards. A simple mistake that I shouldn’t have made, but I didn’t think I had it wrong so I was convinced the problem was something else.
Once I got that sorted... still issues. My new jet was the wrong size. I didn’t learn this until I’d taken it to two shops. The one that found it fixed it by drilling it out to the right size.
All I’m saying is it could be something very small, not noticeable, or just generally simple. Good luck!
 lone_liberal
> Urambo Tauro
09/27/2016 at 12:12 |
|
The difference between leaded and unleaded should only affect your valves as the lead acted as a lubricant so engines designed to run on unleaded have hardened valve seats. The ethanol is of greater concern, especially in a motorcycle since they sit for longer periods, but it can be taken care of by adding a fuel additive designed to help old engines deal with it.
 Pickup_man
> Urambo Tauro
09/27/2016 at 12:15 |
|
Glad you were able to figure out what (hopefully) the problem was! Hopefully it’ll run like it’s supposed to when you put it back together.
As per the jets and different sizes. Jetting is nearly a black art, and is simple yet wildly complex at the same time. Jets can be changed to to elevation, different exhausts, different air filters etc. etc. etc. So when a manual says that say a 110 jet is standard, that basically a safe starting point. I’m not surprised at all that your jet is a slightly different size, and at that small of a change it shouldn’t cause any issues. Once you get it running read up on indicators of lean or rich conditions. The basics of carb tuning are fairly simple, (especially with a single carb).
 jminer
> Urambo Tauro
09/27/2016 at 16:16 |
|
Unleaded gas won’t be an issue, that only affects European bikes of this vintage. Japanese bikes don’t have a problem with it.
Ethanol is only a problem when you let it sit. Even 3 month old gas starts to deteriorate. Just use some stabil in the gas over winter or another time when you’re not riding it.
Carbs are not that tricky and you did well. Most bikes I rebuild the carbs on have to come off again for some final tweaking or a missed setting.
You’re doing great so far. Keep up the progress!